Getting Your Powder Curing Just Right
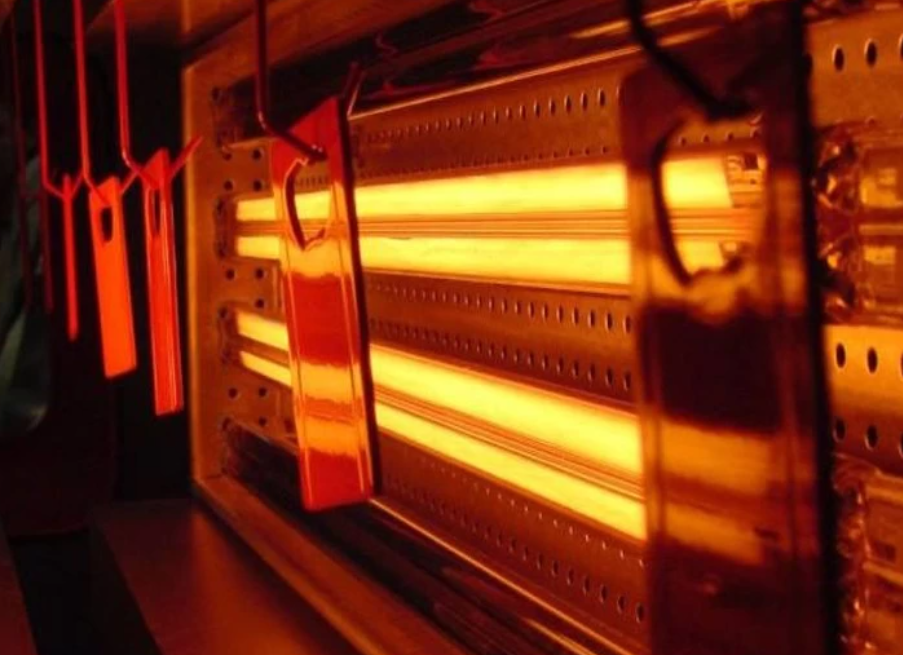
Getting powder coating to look perfect is a bit of a balancing act. You need enough heat to melt those polymer particles and lock them in, but not so much that you end up scorching your parts. We’ve spent a lot of time building our curing lamps to go toe-to-toe with the big global brands. For us, it’s all about how the heat is distributed and how dense that energy is when it hits the surface.
The Trade-off: Speed vs. Stress
Most of our tubes are built for high wattage. Why? Because nobody likes waiting around. High voltage means your lamps ramp up faster, which cuts down your cycle times. But here’s the thing: that kind of heat puts a lot of pressure on the quartz envelope. If your power supply is jumpy or unstable, those filaments are going to burn out way sooner than they should. We calibrate the voltage specifically so the IR wave hits the powder exactly when the curing reaction needs to kick in.No guesswork.
Built for the Real World
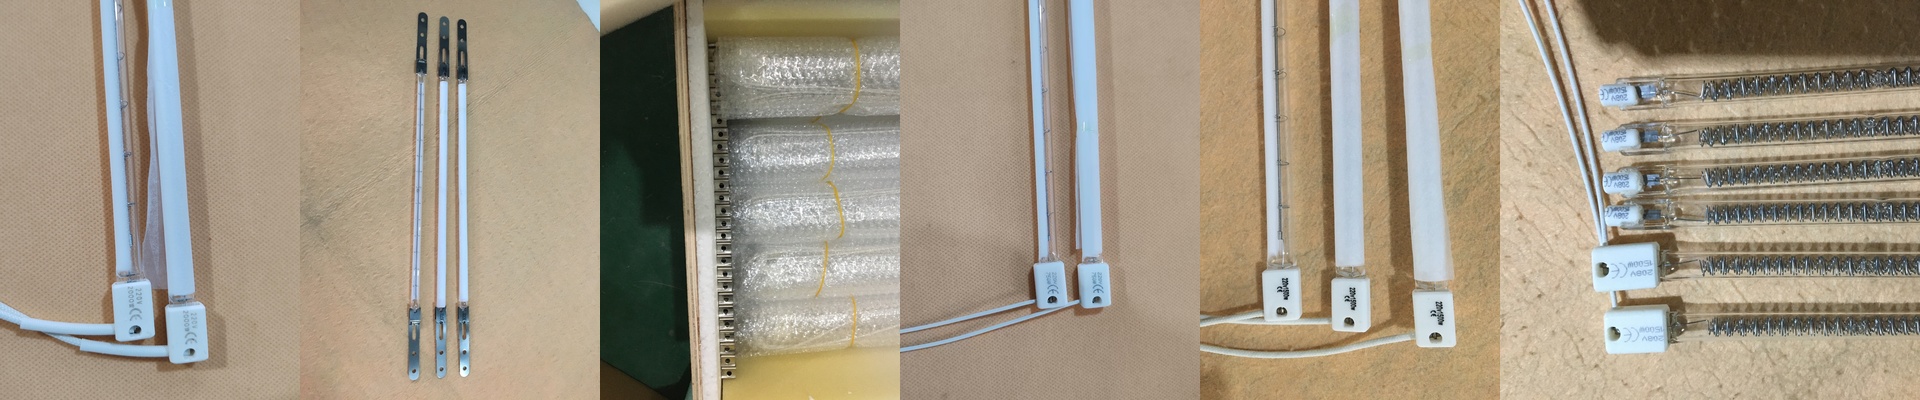
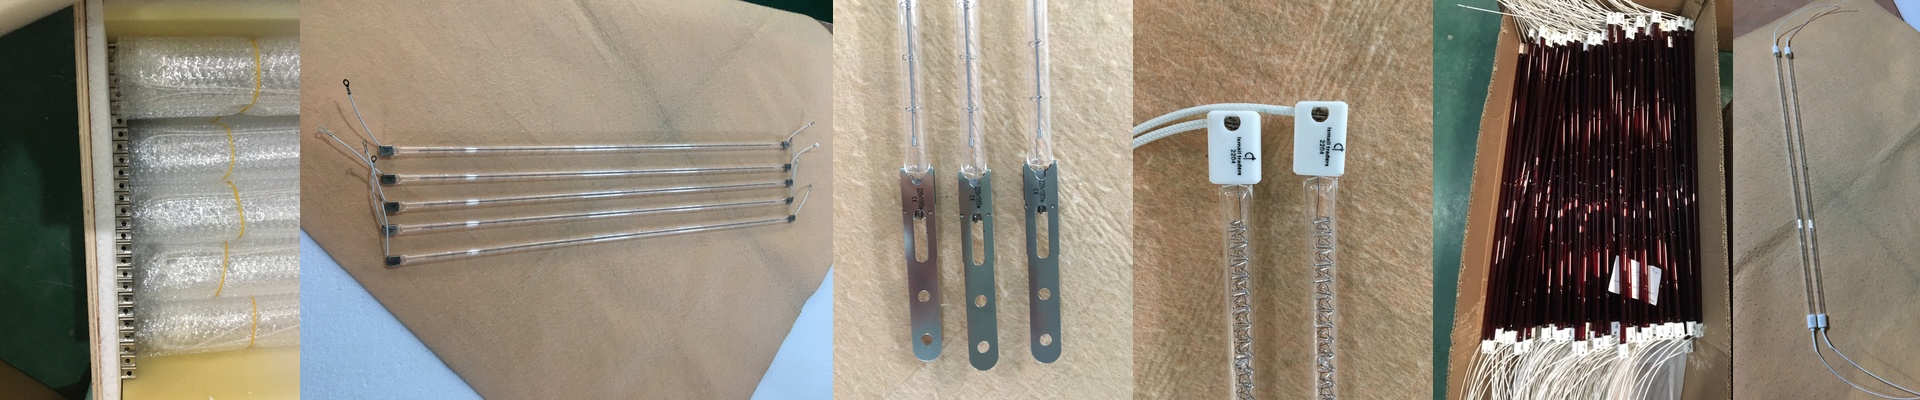
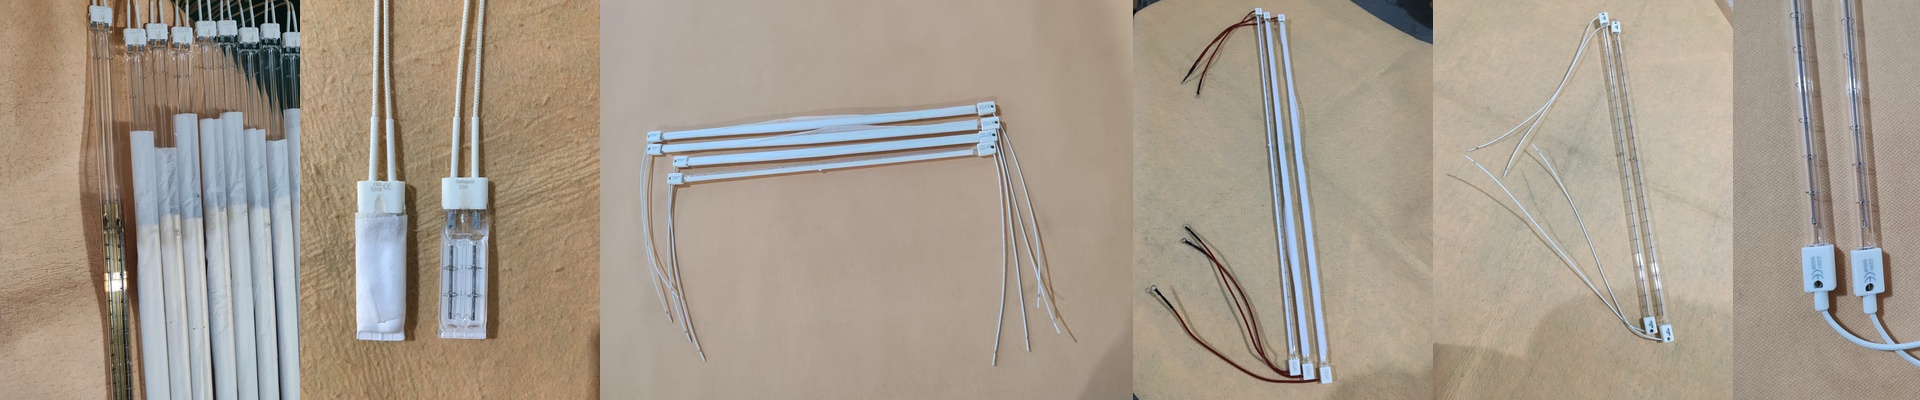
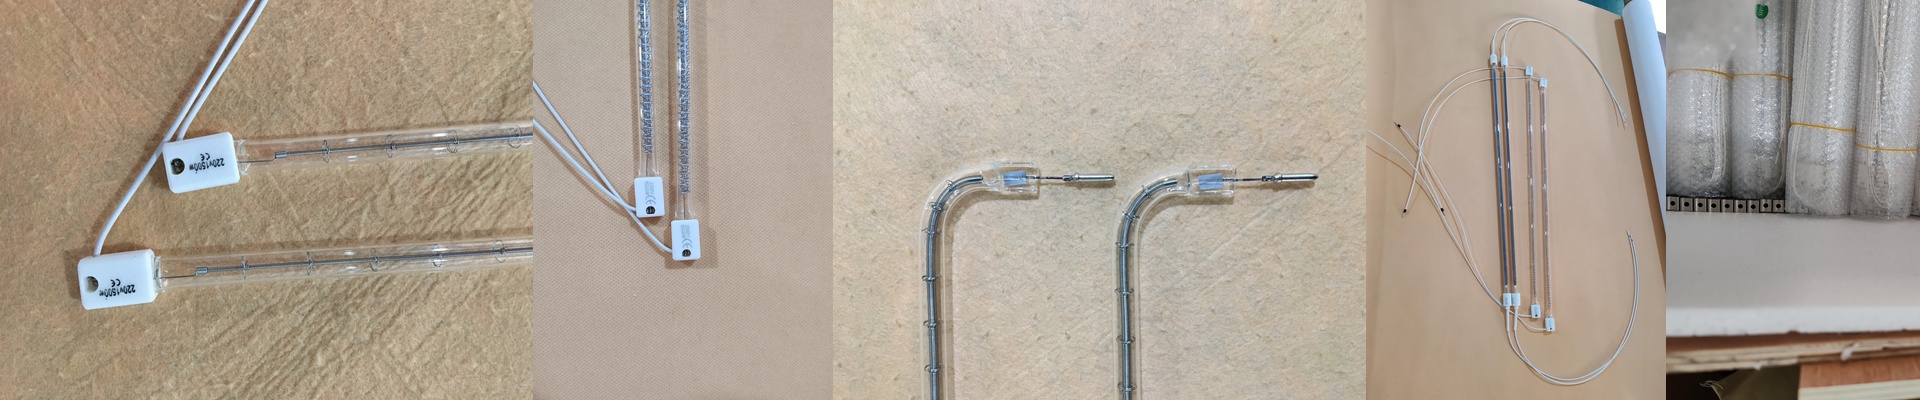
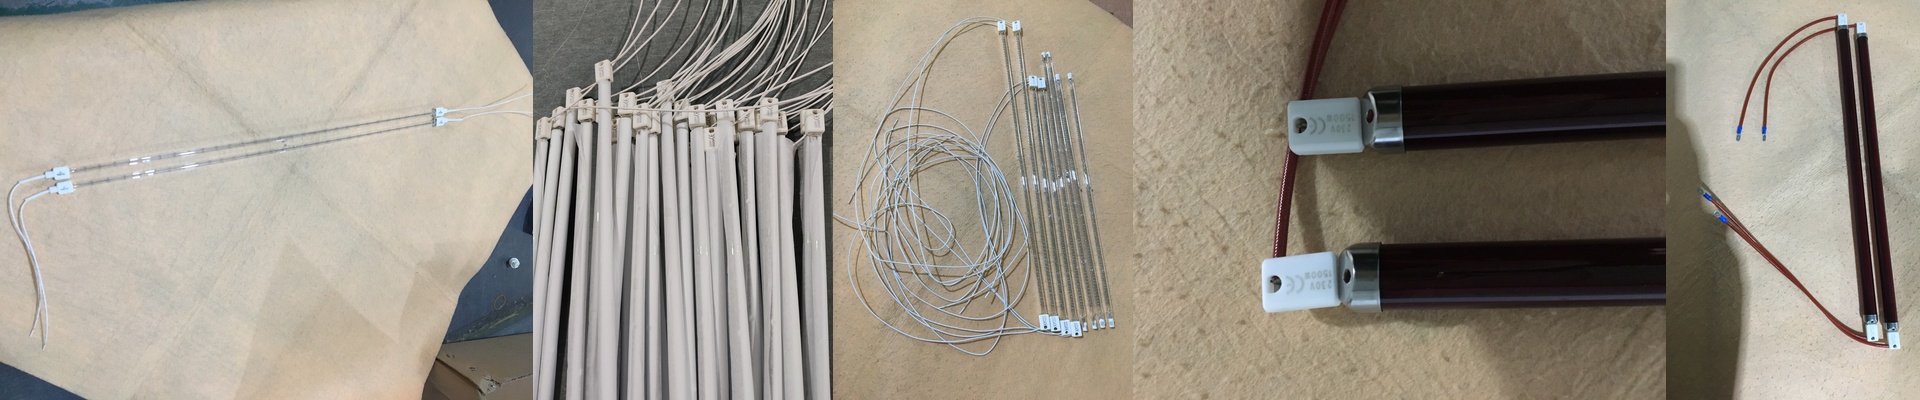
We use heavy-wall quartz because, frankly, thin glass sags when things get screaming hot. You don’t want that. As for the setup, we use standard R7s or SK15 connectors. This means you can just pop them into your existing rigs. You don’t have to spend your weekend rewiring the entire oven just to try a new lamp. We also added a coating to the glass. It pushes the heat forward toward your parts instead of letting it bleed off into the empty space at the top of the oven. It’s just a smarter way to use your electricity.
Try Them on Your Line
You can swap these into your current line and see the results for yourself. If the finish doesn’t hit your hardness or gloss marks—if it doesn’t look as good as what the “big name” lamps are doing—we’ll give you your money back. Simple as that. The science is straightforward: it’s all about the purity of the quartz and the thickness of the filament. Just keep an eye on your conveyor speed. Make sure the parts spend enough time under the lamps so you don’t end up with under-baked centers or burnt edges.